Lash Packaging Barcode Verification: 8 Checks Before Shipment
Share
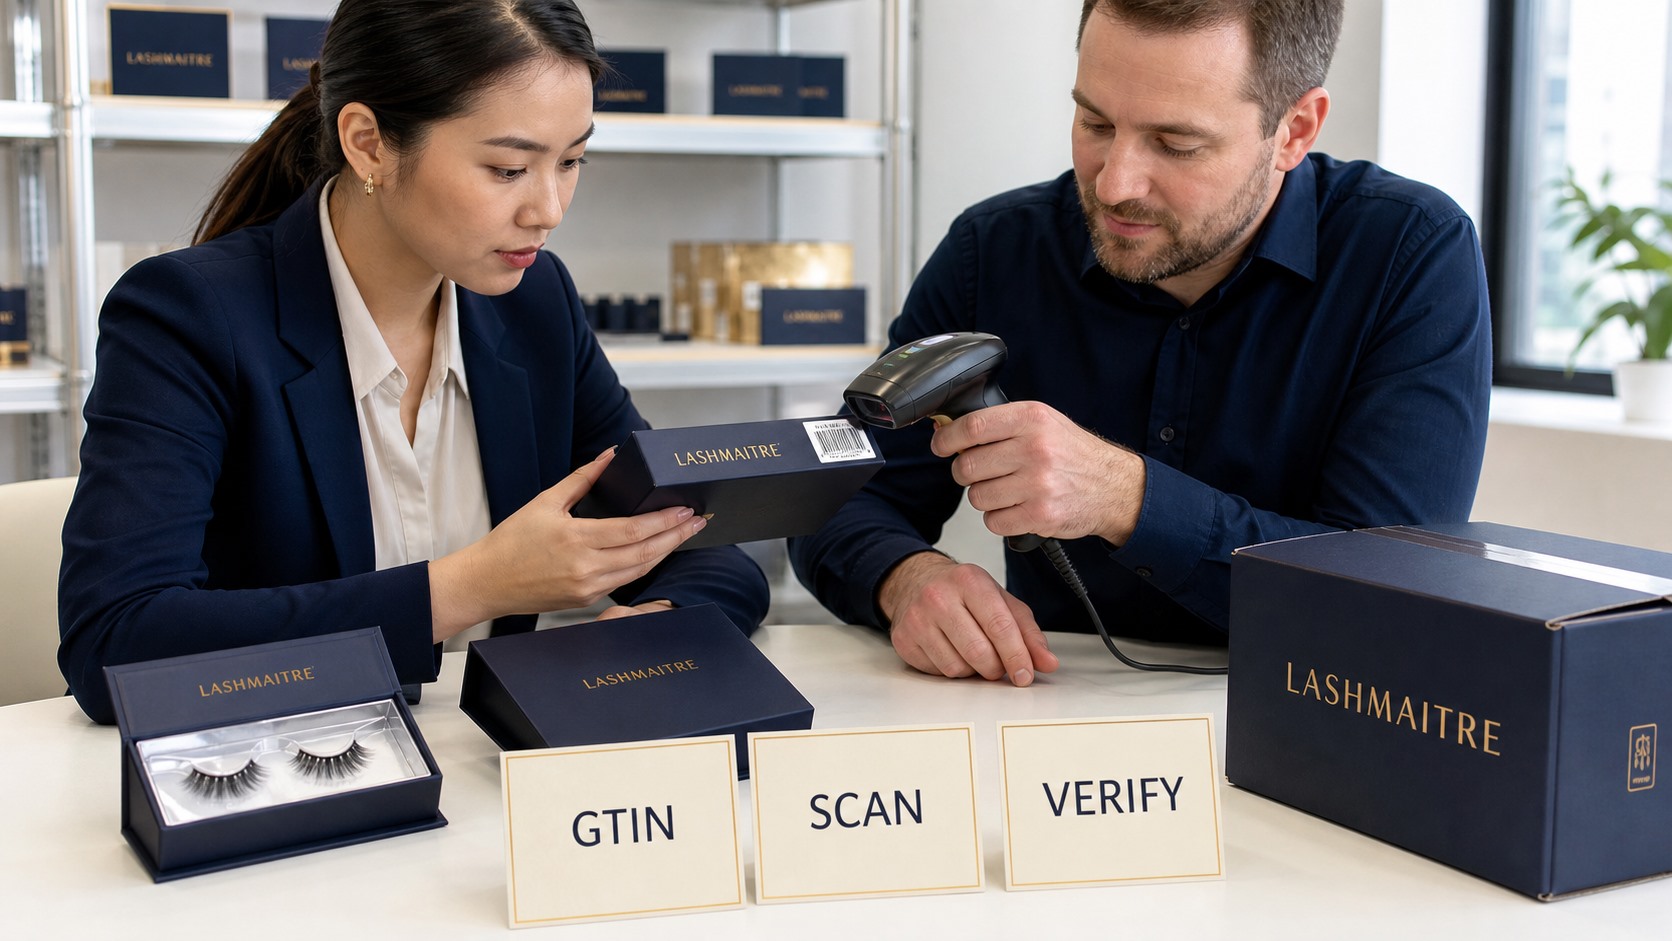
Lash barcode verification should confirm both data and print performance before a shipment leaves the factory. Match the barcode number to the approved SKU and packaging level, validate the check digit and ownership record, then inspect symbol type, dimensions, quiet zones, colors, placement, print quality, and scan results on real production samples—not only the artwork PDF.
A barcode can look correct and still fail at checkout or in a warehouse. GS1 US warns in its barcode placement and printing guidance that failed scans can require manual entry and may contribute to chargebacks or lost sales. Verification should therefore be a release control shared by the brand, packaging supplier, and quality team. This operational checklist is not legal advice; confirm the applicable GS1, retailer, and market requirements for the specific product and channel.
Lash Barcode Verification: Direct Answer
Use one approved barcode master for each trade item and packaging level. Before printing, verify the assigned GTIN and artwork specifications. During production, examine physical samples with appropriate verification equipment and the scanners used in the intended channel. Record the sample position, result, verifier settings, operator, date, and disposition.
GS1's barcode quality checklist highlights check digits, quiet zones, contrast, colors, construction, symbol size and height, packaging interference, damage, and placement. These checks provide a useful framework for lash retail boxes, sleeves, cartons, and logistics labels.
Start With the Correct Product and Packaging Level
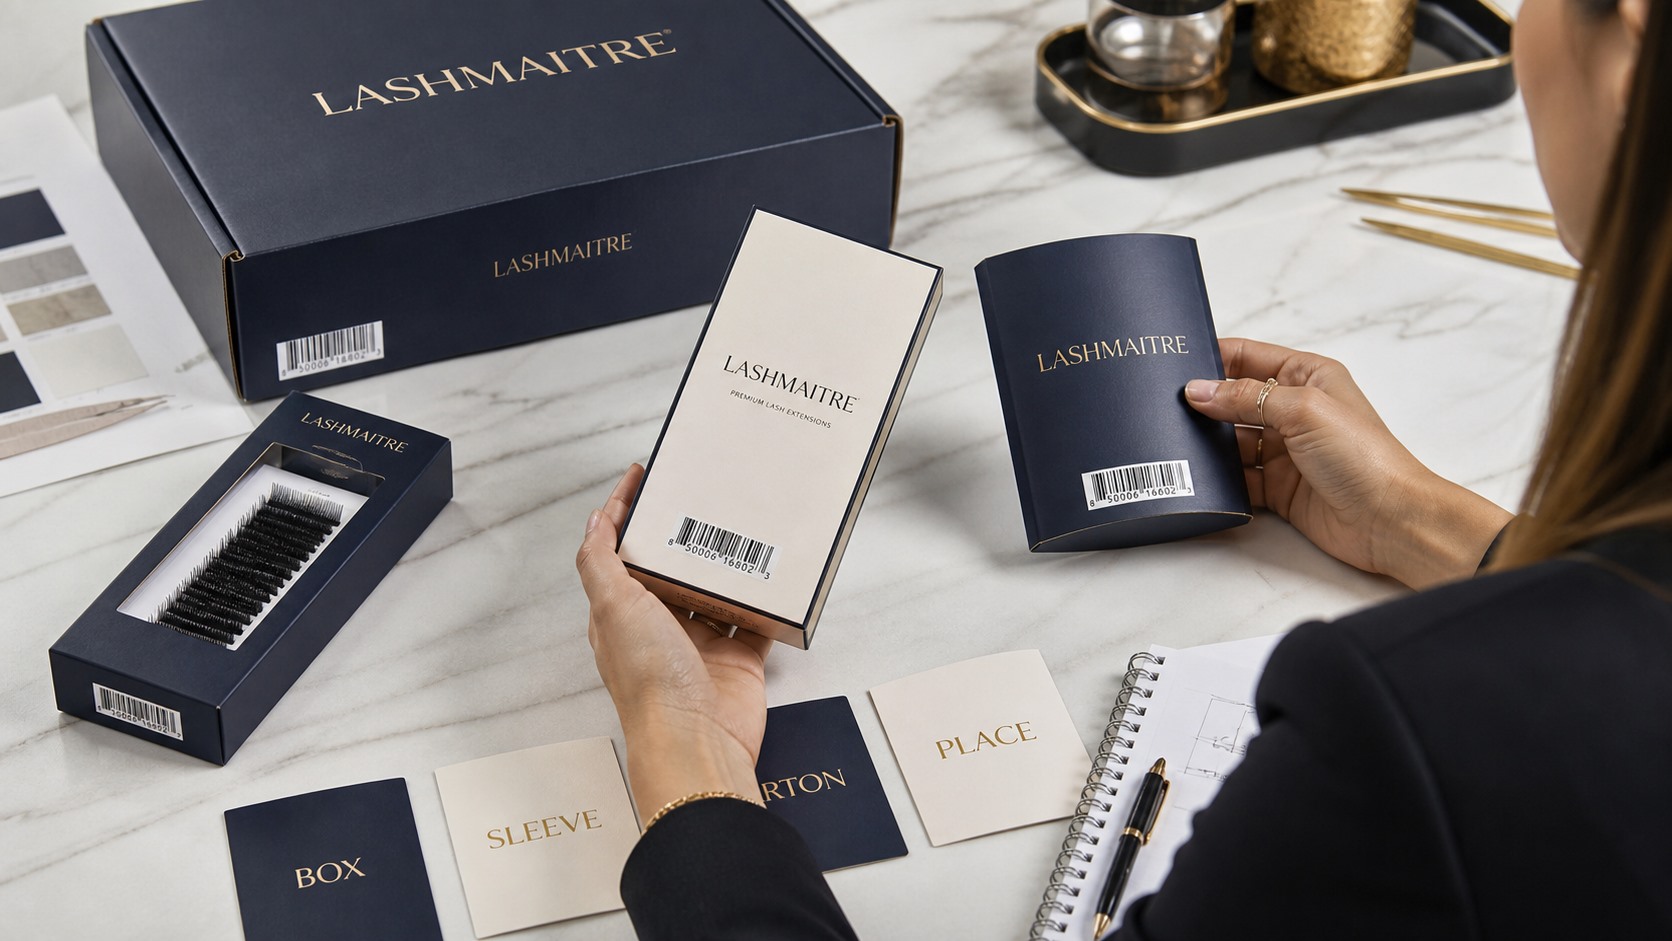
For lash barcode verification, do not paste one barcode onto every related object. A single lash tray, retail kit, multipack, inner case, and master carton may be different trade items in the customer's system. Confirm with the brand owner and trading partner which identification number and barcode type belong at each level.
The product master should state the brand, product description, variant, pack count, packaging level, GTIN, symbol type, artwork revision, and effective date. If any of these fields are unresolved, place the artwork on hold.
Eight Checks Before Shipment
| Check | What to verify | Release evidence |
|---|---|---|
| 1. GTIN assignment | Number belongs to the intended trade item | Controlled SKU–GTIN map |
| 2. Check digit and encoded data | Printed and scanned values match | Calculation and scan record |
| 3. Symbol and use case | Barcode fits retail or logistics use | Approved specification |
| 4. Size and height | Dimensions remain within applicable rules | Measured sample |
| 5. Quiet zones | Clear areas are unobstructed | Artwork and print check |
| 6. Contrast and color | Bars and spaces scan reliably | Verifier result |
| 7. Placement and surface | Position avoids edges, folds and distortion | Physical packaging review |
| 8. Production print quality | Real samples meet acceptance criteria | Verification report and release |
1. Confirm the GTIN Assignment
Match the human-readable number and encoded value to the controlled product master. Use Verified by GS1 to check whether a GTIN appears in the GS1 database and view the assigning organization and available product information. A database result does not replace the brand's own SKU-level approval, but it can expose an invalid or unexpected number.
Do not obtain a barcode by copying an image from another product or asking a factory to invent a number. The brand owner should control assignment and authorization.
2. Validate the Check Digit and Encoded Data
Calculate the check digit using an approved tool or system. Scan the symbol and compare the decoded number character by character with the approved master. Preserve leading zeros where the data format requires them.
Review the human-readable digits too. A code that scans correctly but prints different visible digits creates confusion during manual handling and troubleshooting.
3. Confirm the Symbol and Intended Use
Retail point-of-sale, warehouse, and logistics applications may use different symbols and data structures. Document the receiving channel and trading-partner requirement before selecting UPC-A, EAN-13, ITF-14, GS1-128, a two-dimensional symbol, or another approved carrier.
Do not assume that a phone camera test proves compatibility with retail scanners. Consumer QR use and supply-chain identification are different requirements.
4. Measure Size and Bar Height
Measure the physical printed symbol, not only the design file. Scaling a complete package layout can unintentionally shrink the barcode. GS1 US advises against arbitrary enlargement, reduction, or truncation because the result may not scan correctly.
Record the intended magnification or X-dimension, overall dimensions, print method, substrate, and measurement result according to the applicable standard and customer specification.
5. Protect the Quiet Zones
Quiet zones are the clear areas beside a barcode. Keep text, borders, metallic decoration, pattern, and cutting lines out of them. A box redesign can leave the bars unchanged while silently damaging these spaces.
Add a quiet-zone check to both artwork approval and physical inspection. A dieline PDF alone does not show ink spread, cutting variation, foil position, or a sleeve that shifts over the printed code.
6. Control Contrast, Color and Opacity
Dark bars on a light, stable background are the safest starting point. GS1 US recommends black bars on white and cautions against red or reddish bars because common scanner light may not distinguish them. Transparent windows, reflective foil, kraft fibers, gloss, and colored product behind clear film can alter the effective background.
Verify the actual ink, coating, substrate, and finish combination. Do not approve contrast from a monitor screenshot.
7. Check Placement and Packaging Geometry
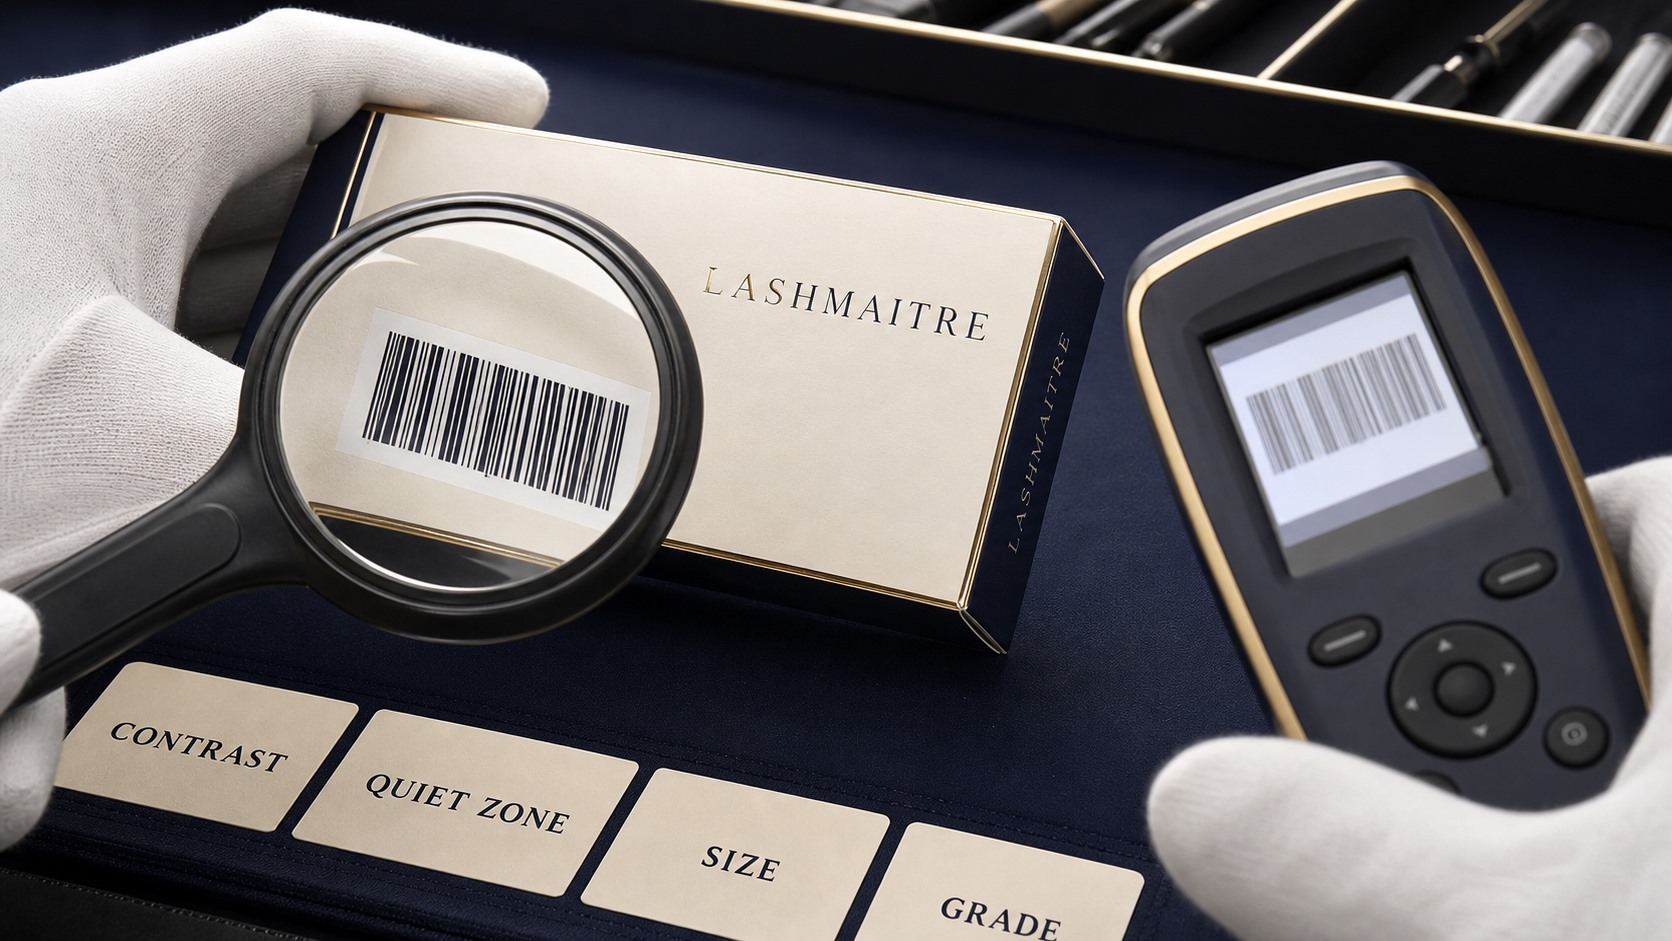
Keep barcodes away from folds, flaps, seams, corners, perforations, shrink-wrap distortion, and strongly curved surfaces. GS1 US notes that placement and a smooth printed surface affect scanner readability. Confirm that labels cannot wrinkle or lift during storage and transit.
For lash trays with narrow boxes or sleeves, test the final assembled product. A code placed correctly on a flat proof can become obstructed when the sleeve overlaps it.
8. Verify Real Production Samples
In lash barcode verification, artwork inspection and ordinary scanning are useful but are not the same as formal print-quality verification. Use calibrated verification equipment and a documented acceptance rule appropriate to the symbol, application, and trading partner.
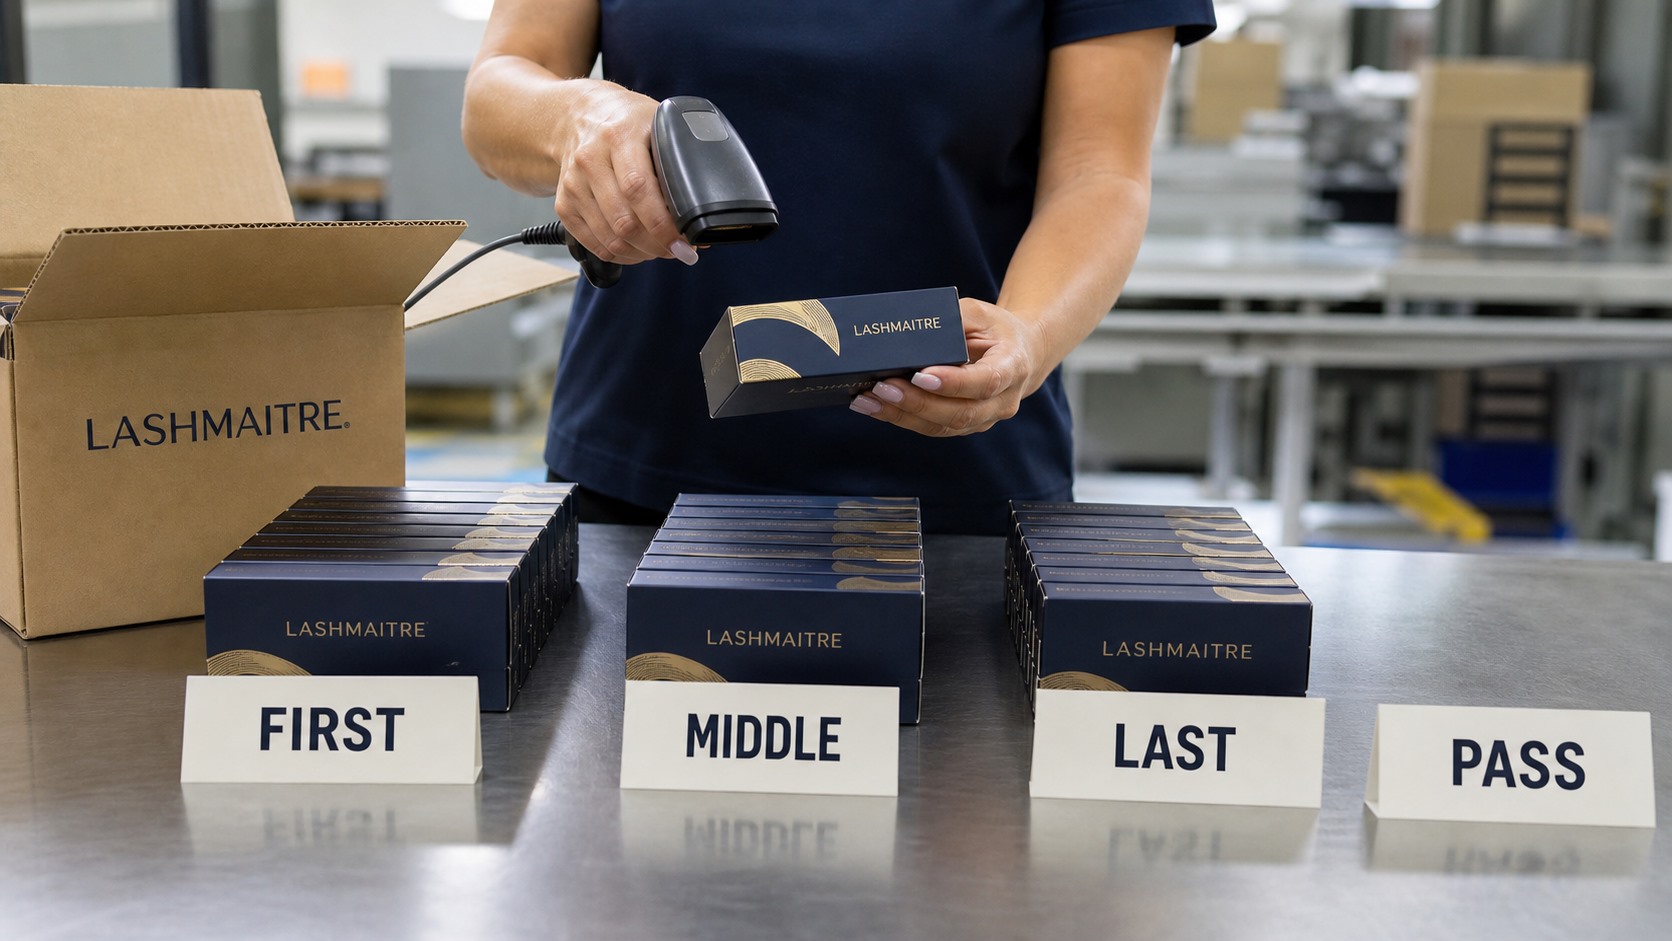
Sample across the run—such as the beginning, middle, and end—and after processes that can change the symbol, including lamination, varnish, cutting, folding, packing, and shrink wrapping. Retain the report and representative sample with the packaging release file.
A Controlled Proof-to-Shipment Workflow
- Brand owner assigns and approves the SKU–GTIN relationship.
- Packaging engineer applies the correct symbol specification to the dieline.
- Independent reviewer checks digits, quiet zones, size, placement, and revision.
- Supplier creates a physical proof using intended materials and finishes.
- Quality team scans and verifies the proof.
- First production samples are compared with the approved proof.
- Run samples are selected under the sampling plan and verified.
- Failed or marginal results are held, corrected, reprinted, and reverified.
- Final results, samples, and approvals are retained with the shipment file.
| Stage | Minimum evidence |
|---|---|
| Artwork approval | SKU–GTIN match, dimensions, quiet zones and placement |
| Physical proof | Scan result, verifier output, material and finish confirmation |
| Production release | Run sampling, rework status and final approval |
Connect the barcode check to the broader private-label lash packaging approval. Product identity, net quantity, business information, origin statement, and other required label content should remain consistent when a barcode is added or moved. FDA's cosmetics labeling summary provides an official starting point for U.S. cosmetic labeling requirements.
When a Barcode Fails
Do not cover a failed code with an uncontrolled sticker. First isolate affected quantities and identify whether the cause is wrong data, artwork, substrate, ink, print process, placement, finishing, or damage. Approve the correction, produce a new proof, verify it, and record which cartons were reworked.
If a label overlay is the approved remedy, control its GTIN, revision, size, adhesion, placement, readability, and application count. Reverify packaged units after rework.
Lash Barcode Verification FAQ
Is scanning with a phone enough to approve a lash barcode?
No. A phone scan can find obvious data problems, but it does not prove compliance with print-quality parameters or compatibility with the intended retail and logistics environment.
How can a brand check whether a GTIN is valid?
GS1 directs users to Verified by GS1, which can return the assigning organization and available product information or explain when a number is not found. The brand should still reconcile the result to its approved SKU master.
Should every lash packaging level use the same barcode?
Not automatically. Retail units, multipacks, cases, and cartons may be distinct trade items. Confirm identification and trading-partner rules for each level.
When should production barcodes be tested?
At minimum, test the physical proof, first production output, samples across the run, and output after any finishing or rework that may affect readability. Use a risk-based documented sampling plan.
Conclusion: Approve the Data and the Physical Print
Reliable lash barcode verification requires two approvals: the number must belong to the correct product, and the production symbol must perform on the real package. Control the SKU–GTIN map, dimensions, quiet zones, color, placement, print process, sampling, and rework evidence before release.
Use LASHMAITRE quality control to plan packaging inspections, review approved lash samples, preserve changes through a supplier document control process, and contact LASHMAITRE with your approved barcode specifications and channel requirements.
Before approving revised barcode artwork, apply documented lash GTIN change rules to decide whether the changed trade item or packaging level needs a new identifier.
Retain scan results with PO, item-data, case-pack, label, ASN, routing and handoff evidence as part of lash retail chargeback prevention before shipment release.

Lash Maitre: Your Trusted Partner in Eyelash extension Solutions
Lash Maitre is dedicated to providing professional insights and tips in the eyelash extension industry. Sharing the latest trends, techniques, and product knowledge, Lash Maitre helps lash artists and enthusiasts enhance their skills, stay inspired, and achieve the perfect lash experience.